Creating a Master Page
Audience
Audience: Administrators & Read/Write Users
Overview
Master Pages contain elements, such as company logos, legends and page numbers, which appear in the background of a Master Chart or Chart Document.
The following article provides step-by-step instructions for creating a Master Page, and then applying it to a Master Chart or Chart Document.
Creating a Master Page
-
Click on the
 icon to open the Mode Switcher. Then, click on the Workbench button.
 -
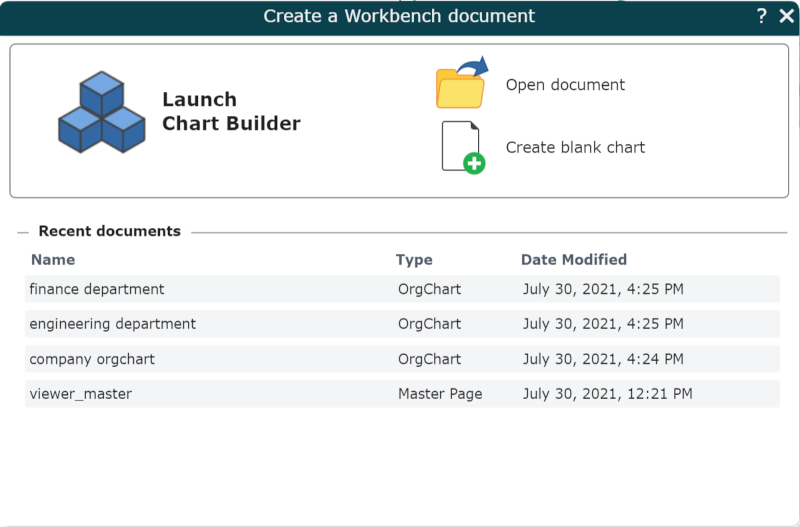
The Workbench dialog is displayed.
-
Open a recently open document, open an existing document, create a blank chart, or use the Chart Builder to enter the Workbench.
-
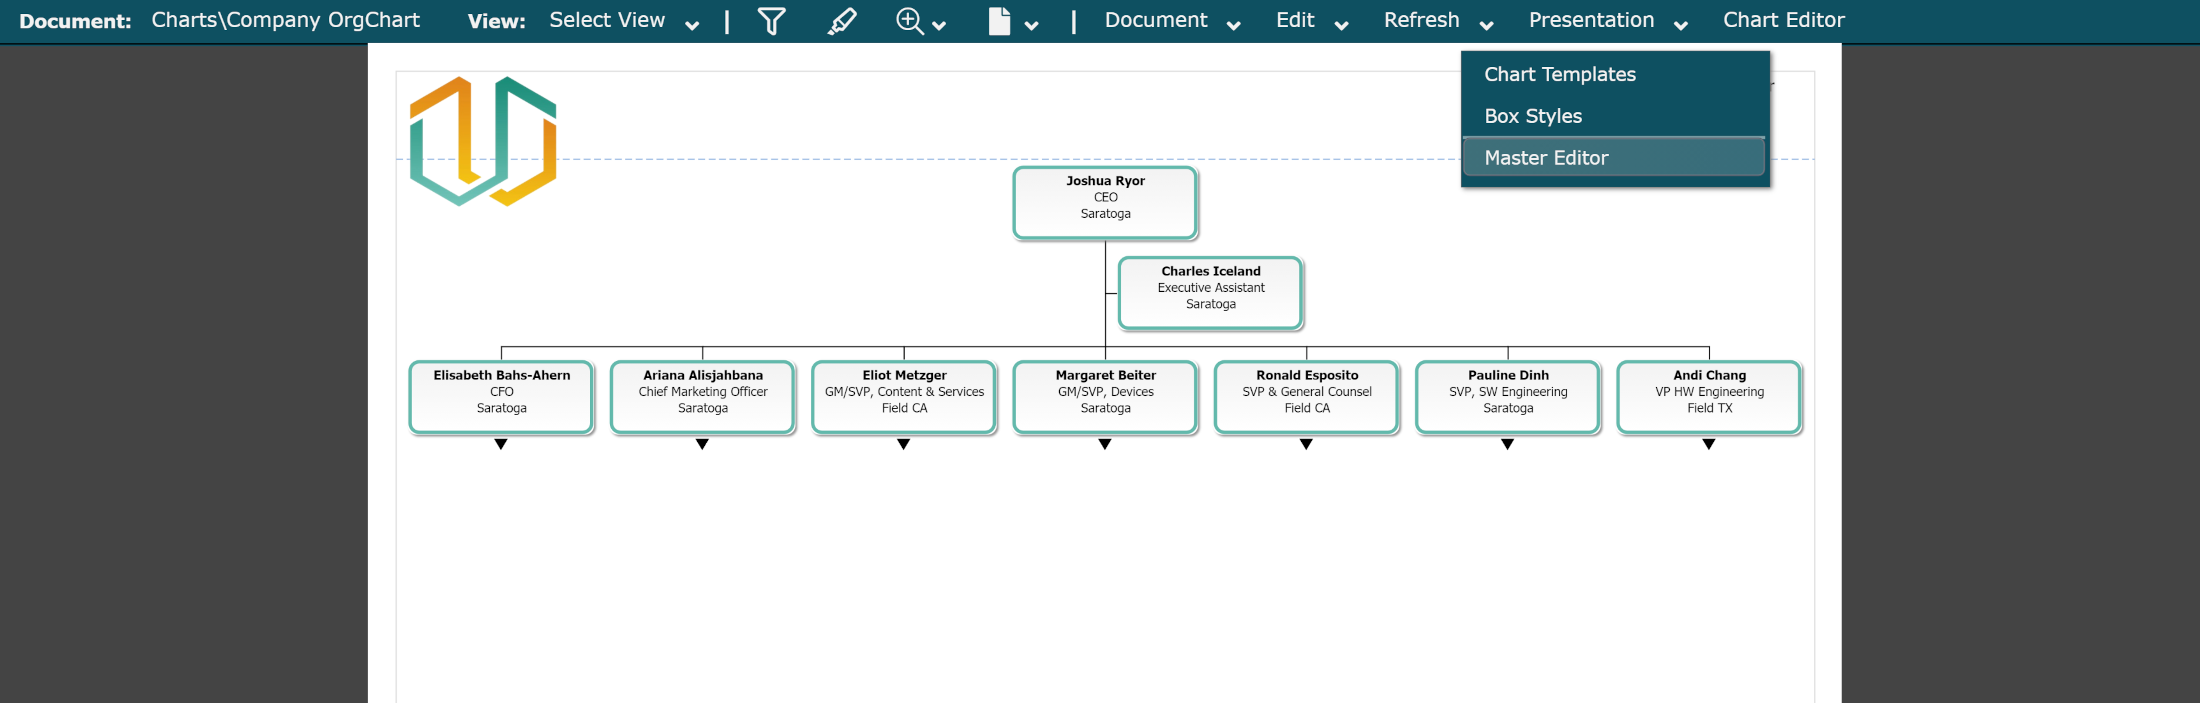
Click on the Presentation menu, and then select the Master Editor option from the dropdown.
-
The Master Editor is displayed on the right and the Master Page applied to the current Chart Document is displayed.
Note
If you have not yet created or applied a Master Page to the open Chart Document, a blank Workbench document is displayed.
-
Click on the
 icon (under the Insert heading in the Master Editor panel). The
File Manager is displayed.
icon (under the Insert heading in the Master Editor panel). The
File Manager is displayed. -
Click on the Masters directory, and then click on the
 icon (in the top right).
 -
Search and select your company logo, and then click on Open. The logo is uploaded to the Masters folder.
Important
The company logo must be formatted in a .png or .jpg format.
-
Select the newly uploaded logo, and then click on the Select Image button (in the bottom right corner). The logo is inserted into the Master Page.
-
Right-click on the logo, and then select the Image Scaling option to resize your logo.
-
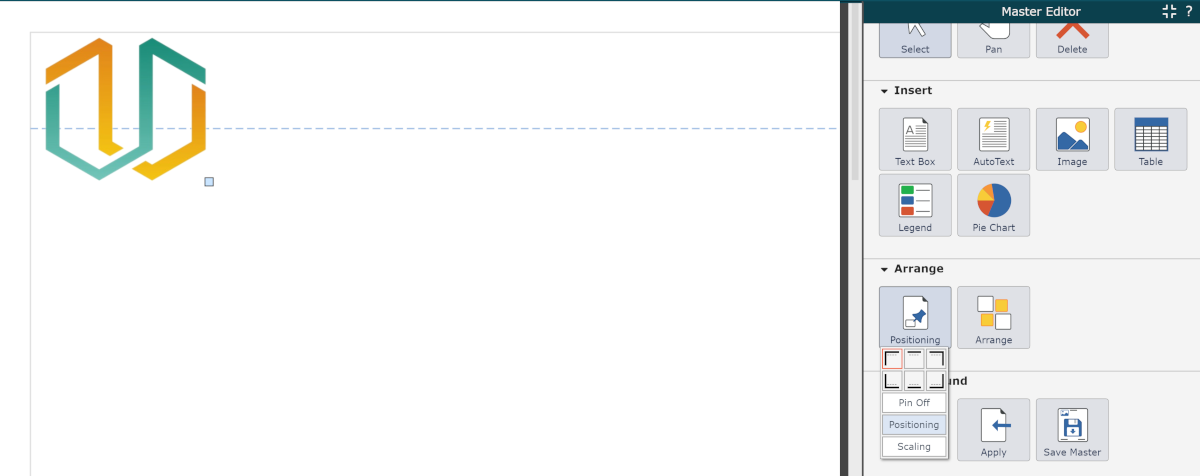
Use the Select tool to select the logo, and then click on the
 icon (under the Arrange heading in the Master Editor panel).
 -
Select one of the corners in the Positioning menu to pin the logo to a desired location.
-
Click on the AutoText button (under the Insert heading in the Master Editor panel), and then select an AutoText element from the dropdown menu.
-
Use the Select tool to select the AutoText element, and then position it on the Master Page.
-
Once you have inserted and positioned all of your Master Page elements, click on the
 icon (under the Background heading in the Chart Editor panel). The File Manager is displayed.
 -
Enter a name for the Master Page in the File Name text box, and then click on the Save Master As button (in the bottom right corner).
Applying a Master Page to a Master Chart
Master Pages that have been saved to the Masters folder will be available to apply to a Master Chart.
There are two methods for doing so:
-
Set the Master Page in the Chart Settings: Presentation panel
-
Apply a Master Page to a View template in View Manager
Setting the Master Page in the Presentation Panel
-
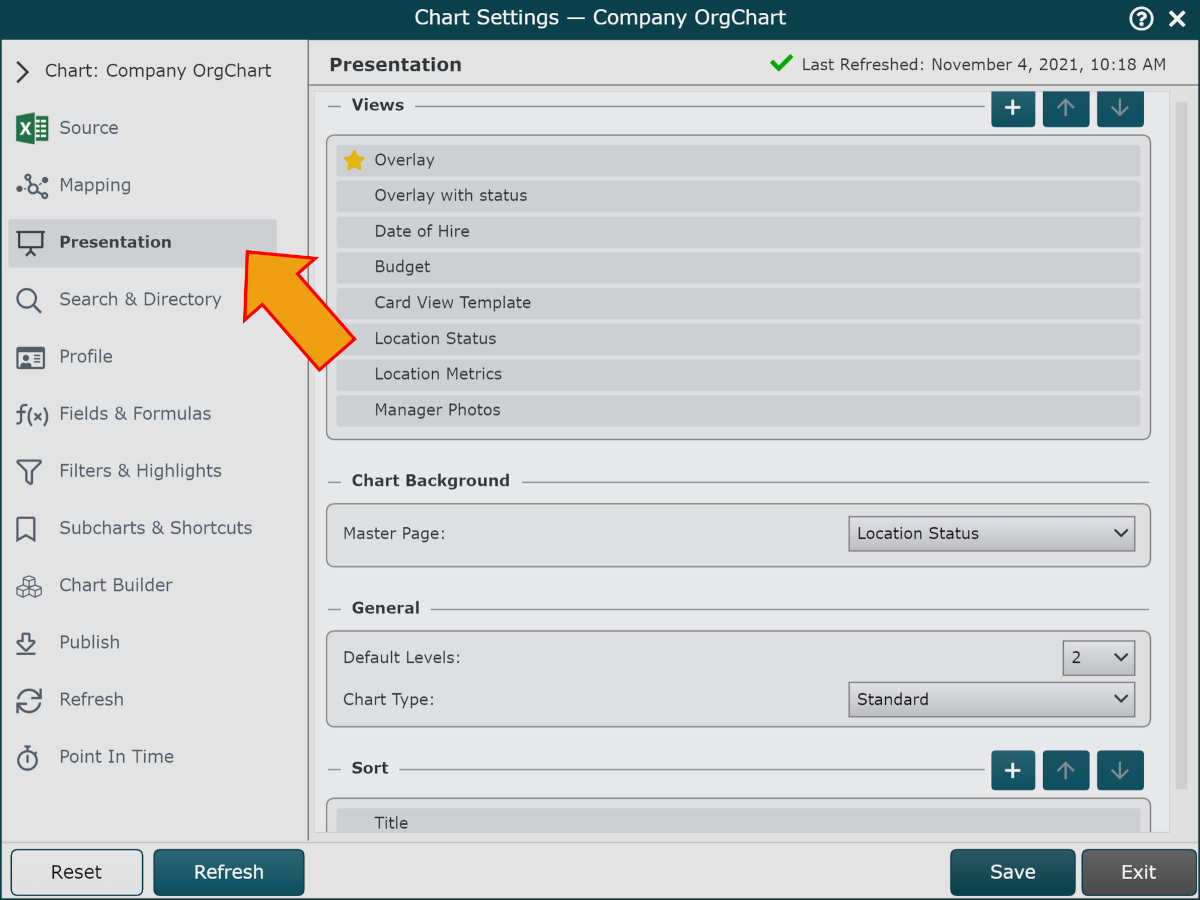
Click on More > Chart Settings, and then click on the Presentation tab in the left side menu.
-
Click on the Master Page dropdown menu (under the Chart Background heading), and then select the Master Page you want to apply to the current Master Chart.
-
Click on Save.
Applying a Master Page to a View
-
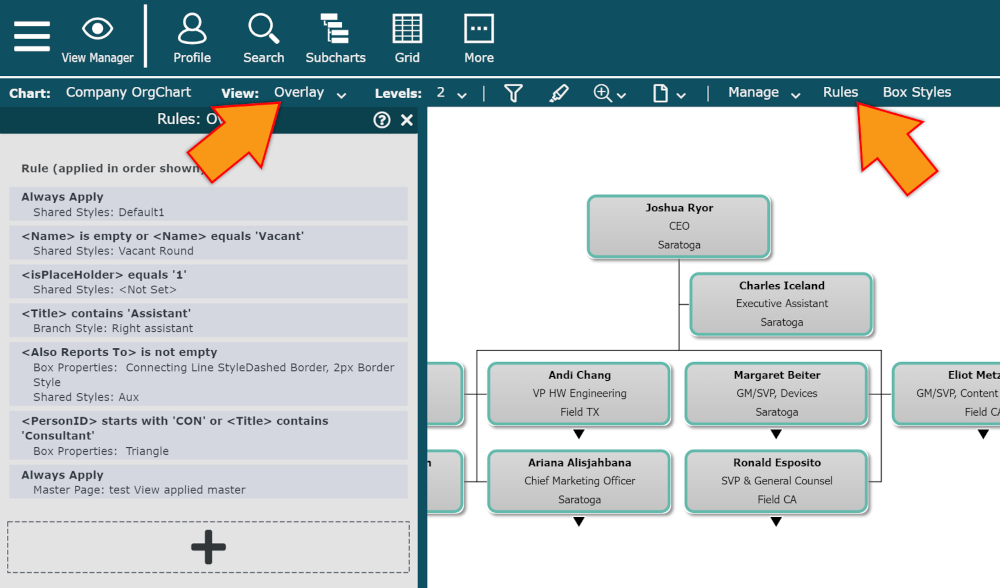
Click on the Mode Switcher icon, and then select the View Manager option.
-
If the template Rules are not displayed, click on the Rules button. Then, select the View from the View dropdown menu to which you would like to apply a Master Page.
-
Click on the
 icon at the bottom of the Rules panel. The Rule
Editor is displayed.
icon at the bottom of the Rules panel. The Rule
Editor is displayed. -
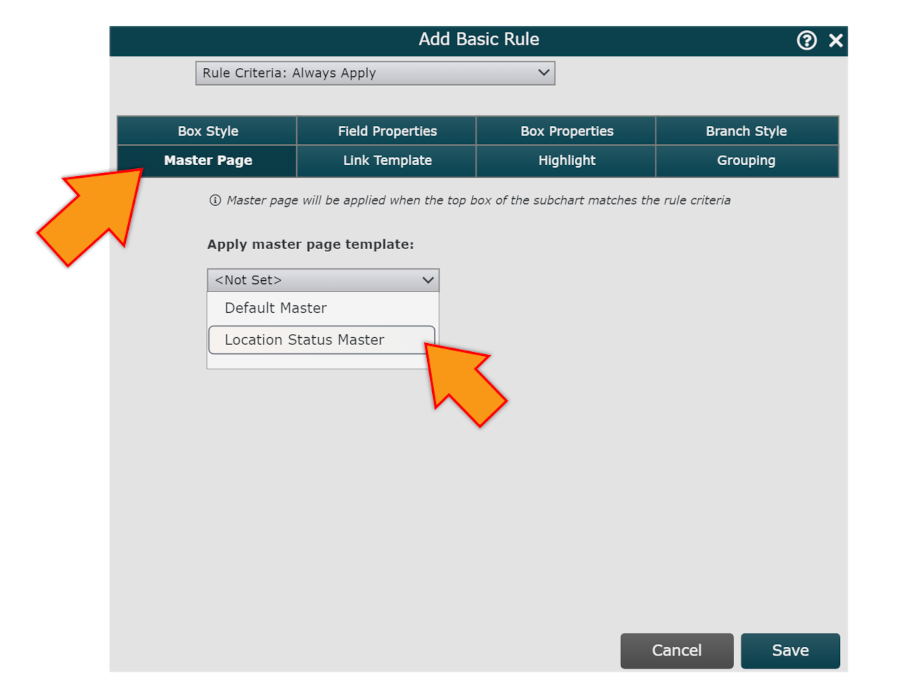
Click on the Rule Criteria dropdown menu, and then select the Rule Type you would like to use to apply the Master Page.
-
If applicable, define the Rule Criteria for applying the Master Page.
-
Click on the Master Page tab, and then select a Master Page from the Apply master page template dropdown menu.
-
Click on Save. The Rule is added to the list.
-
Click on the Manage menu, and then click on Save to preserve the changes.