Interactive Highlighting
Overview
Interactive Highlighting allows users to dynamically illuminate records while navigating their charts in Viewer. Users can build and combine highlights to locate specific employee records, and see the results in real-time.
If desired, users can save their Interactive Highlights to their My Highlights library, in order to easily toggle them on without having to rebuild them. Interactive Highlights saved to the My Highlights library are unique to each user, and persist between logins.
Accessing Interactive Highlighting
Click on the  in the top-left corner of the screen, and then select the Viewer option.
The Viewer user interface is displayed.
Click on the  icon
icon
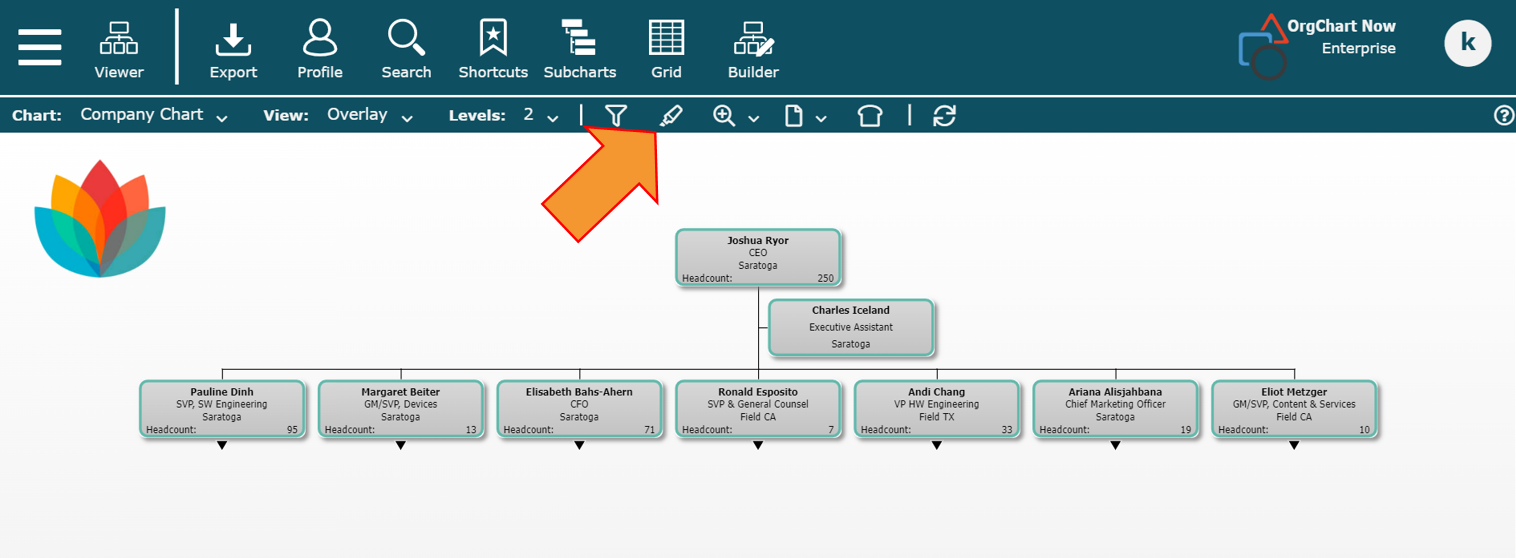
The Highlights panel is displayed to the right side of the screen.
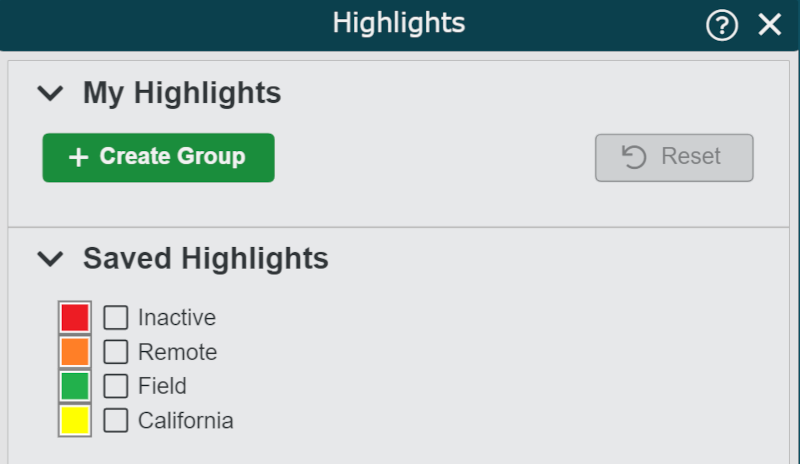
Click on the + Create Group button (under the My Highlights heading) to begin.
Building an Interactive Highlight
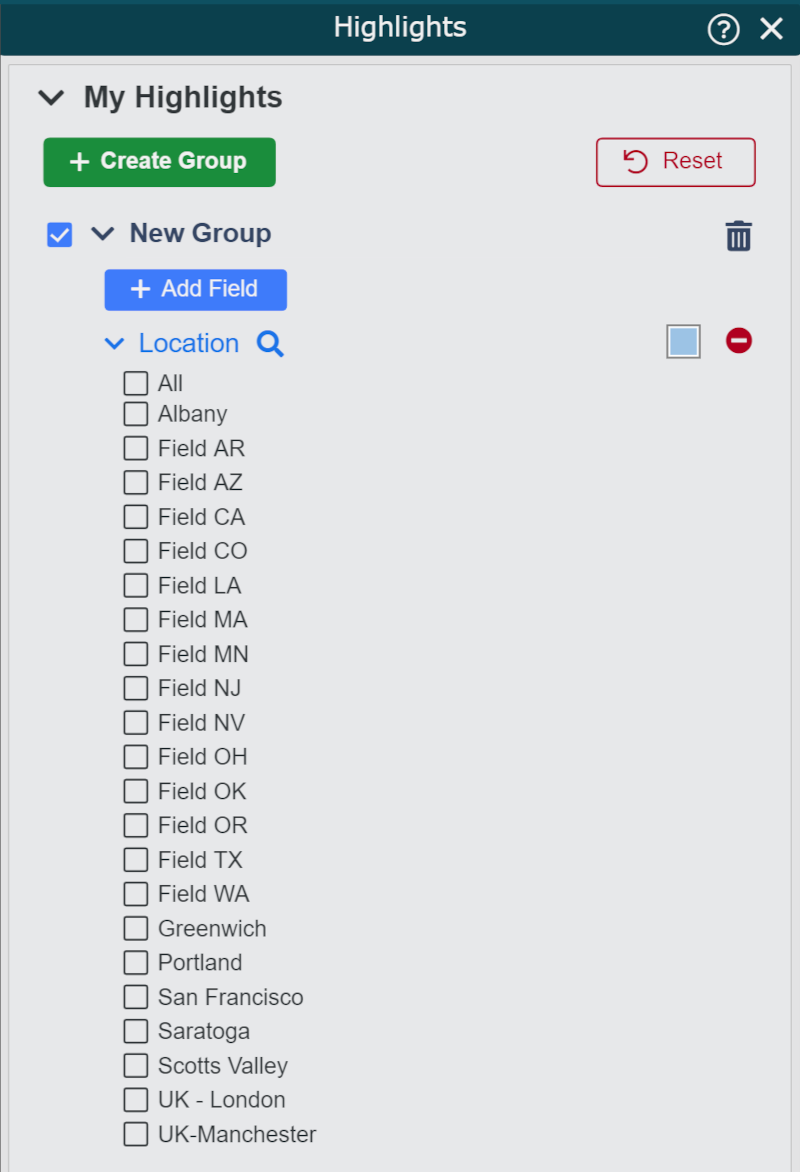
Click on the + Create Group button (under the My Highlights heading). A New Group is added.
Click on the
 button to the left of the New Group to expand it.
Click on the + Add Field button, and then search for the field in your dataset (i.e Location) that you'd like to use to highlight.
A list of values associated with the chosen field is displayed in the Highlights panel.
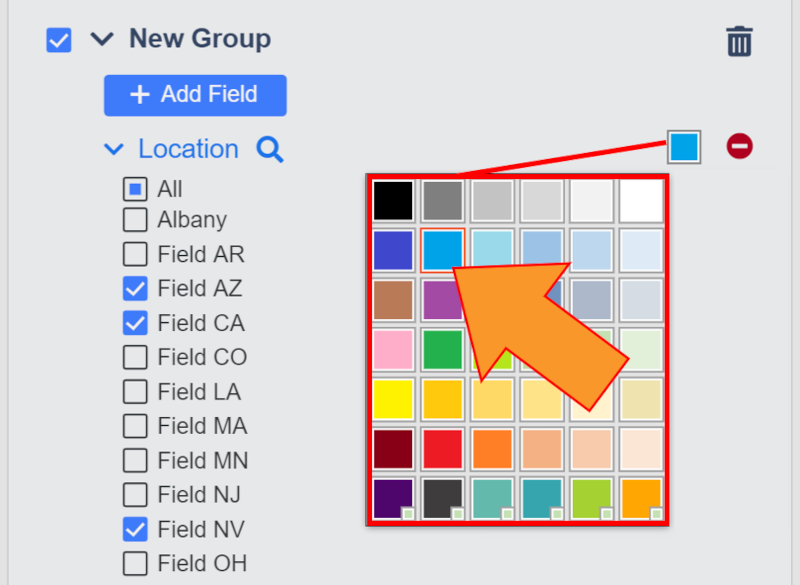
Check the boxes associated with the value(s) that you want to see highlighted in the chart. Employee records matching the checked values are displayed with the chosen highlight color.
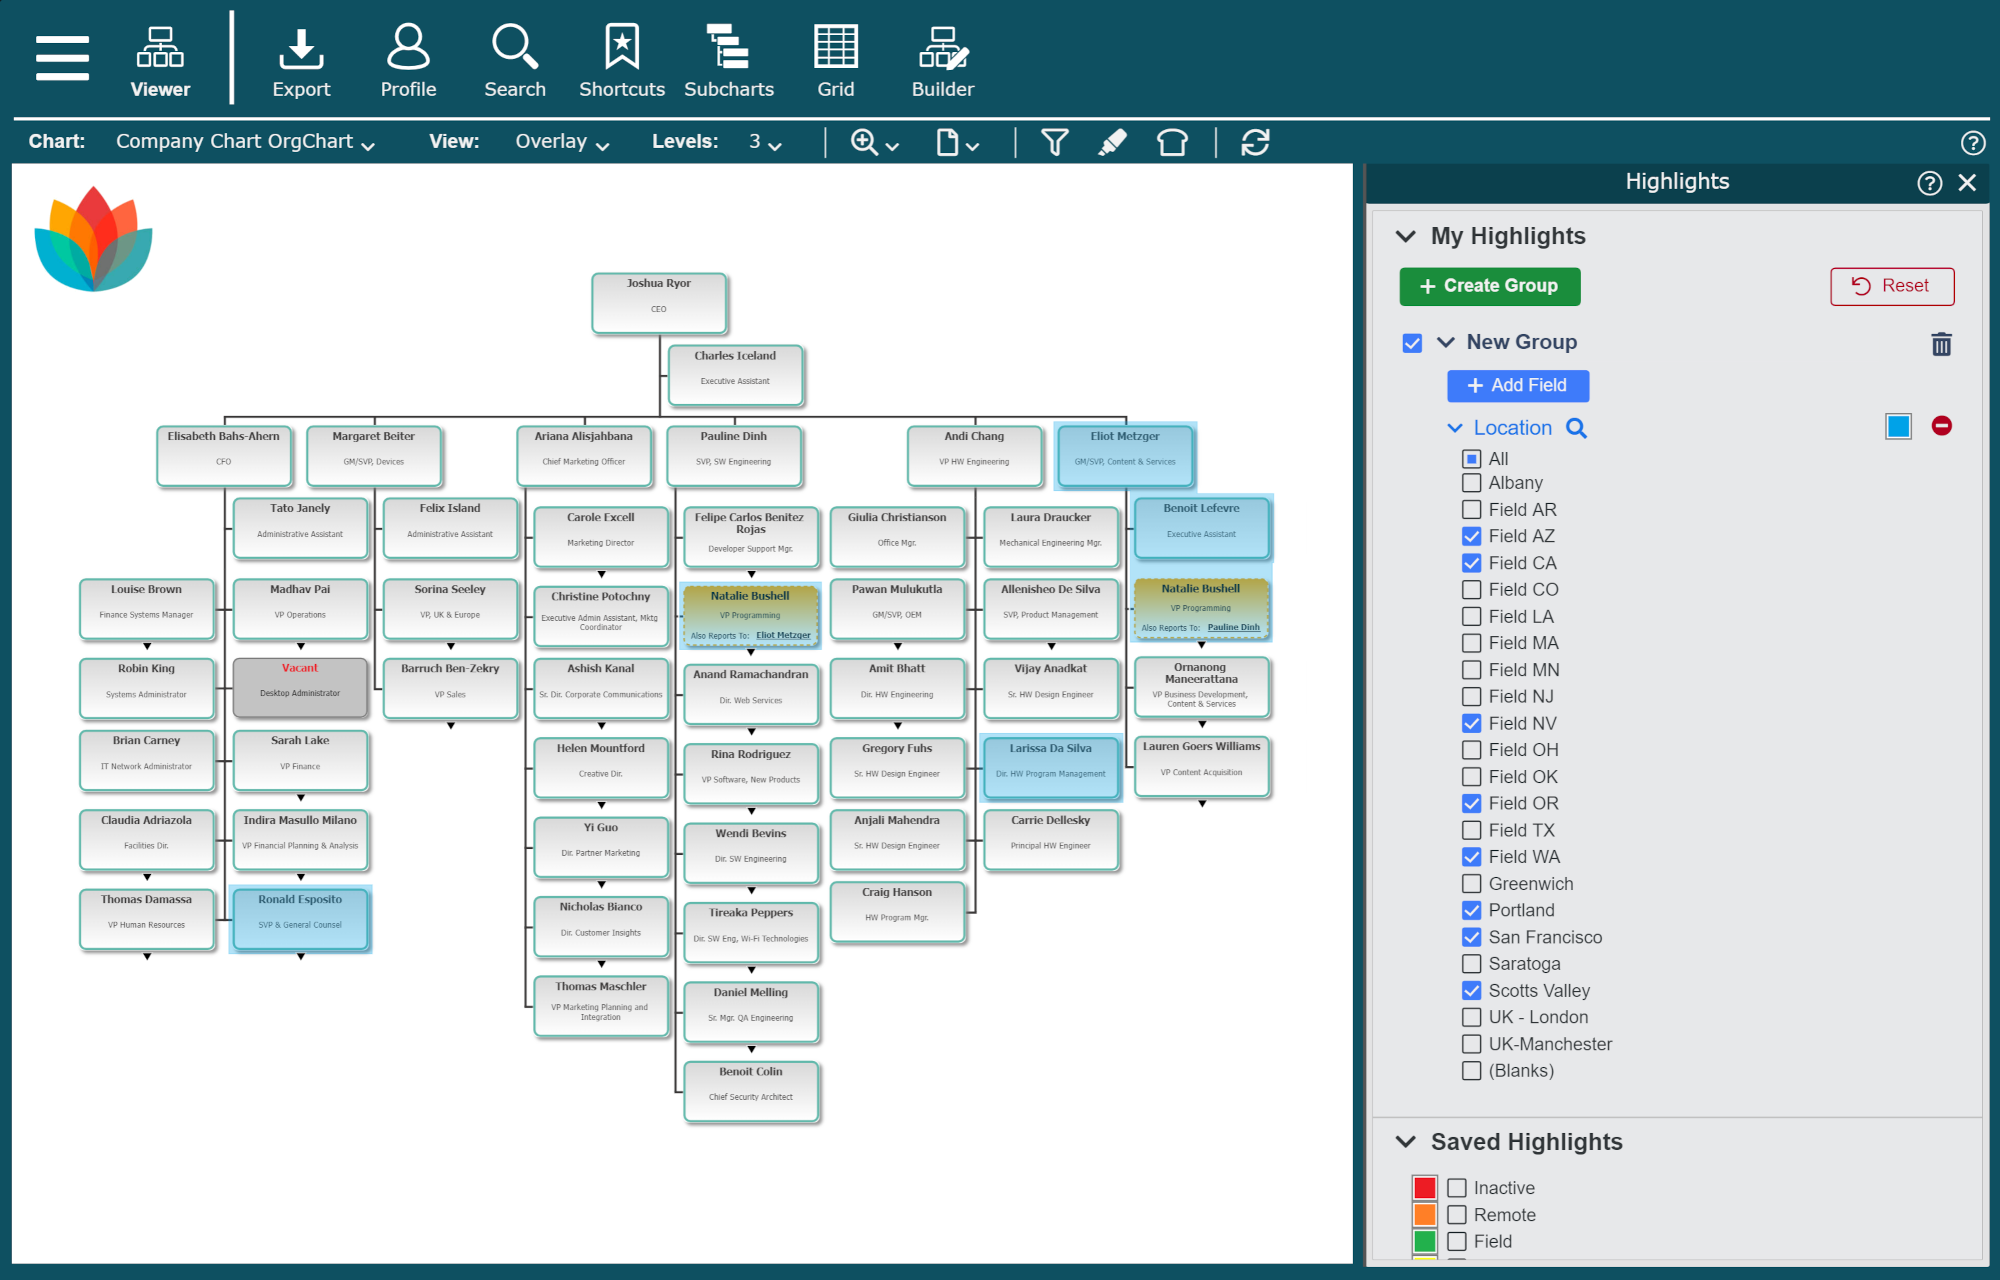
Optionally, click on the colored box (to the right of the selected field), and then select a different color for the highlight overlay.
Optionally, repeat steps 3-5 to make a compound Interactive Highlight group.
Once you've finished building your highlight, double-click on the New Group label to edit it.
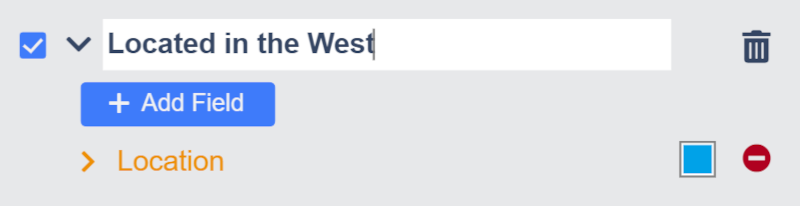
Your Highlight group has been saved to your My Highlights library. Check the checkbox associated with the highlight in order to activate it. Any enabled highlights will persist between logins.
Additional Options
The following additional options are available:
Reset | Click to remove all interactive highlights from the My Highlights library. |
 | Delete Highlight group. |
 | Remove field from the current Highlight group. |