Azure AD Configuration
Audience
Audience: Administrators
Overview
The following article provides step-by-step instructions for preparing your Azure AD tenant for OrgChart integration.
Important
In order to complete the following configuration steps, you will need the following Azure AD permissions:
Application Administrator
Cloud Application Administrator
Privileged Role Administrator
Azure AD Connector Configuration
OrgChart connects to your Azure AD account using a client ID and secret. To obtain these credentials, follow the steps below.
Log in to Azure AD.
Navigate to the Azure Active Directory resource.
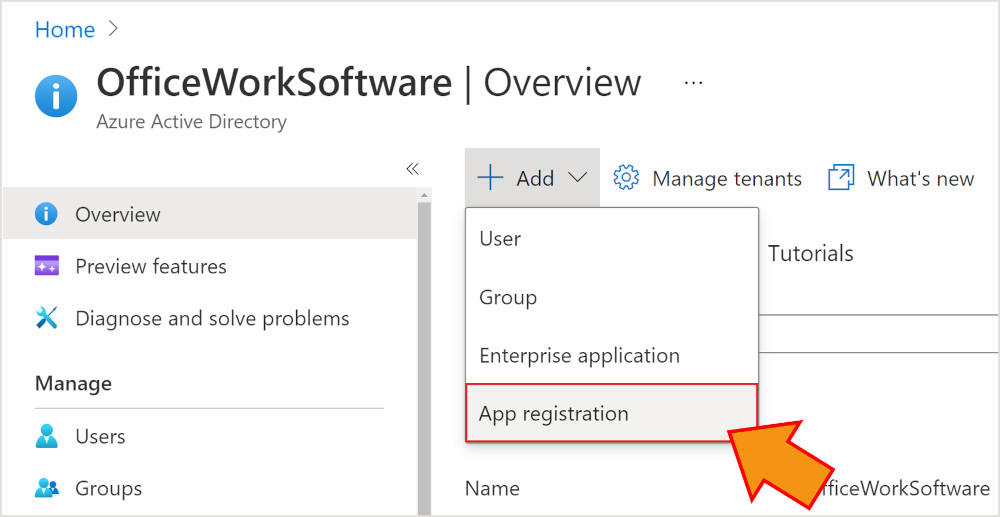
Click on the + Add button, and then select App Registration from the dropdown menu.
Enter a name for the application in the Name text box (i.e OrgChart Application).
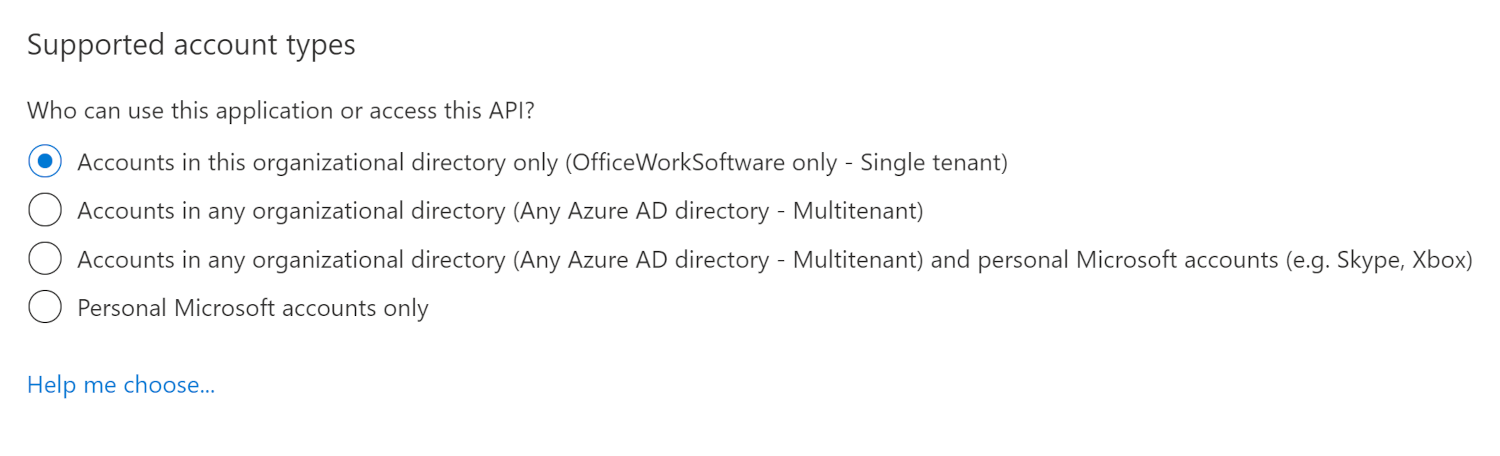
Select the radio button next to the access option that best fits your needs (under the Supported Account Types heading).
Note
Click on the Help me choose... hyperlink to display a side panel detailing the different account types.
Click on Register. Your application details are displayed.

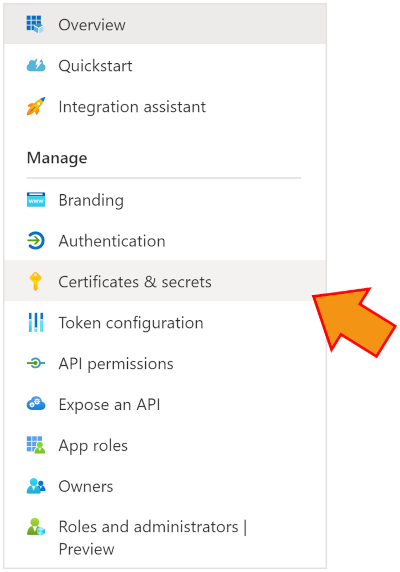
Click on the Certificates & Secrets option in the left-hand side panel to configure your client secret key. This key acts as another level of security for the API.
Click on the + New client secret button.
Enter a description for the client secret in the Description text box.
Click on the Expires dropdown menu, and then select an expiry date (i.e 1 year).
Click on Add. The Client Secret is displayed.
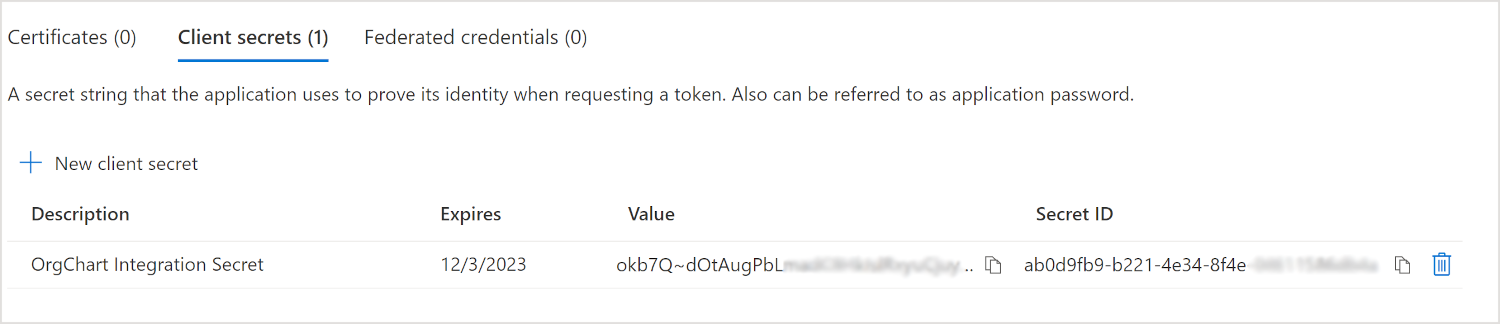
Copy the Client Secret Value, and then paste it to your Notepad. You will need this information to finalize your connection in OrgChart.
Important
This is the only time you will be able to copy this key.
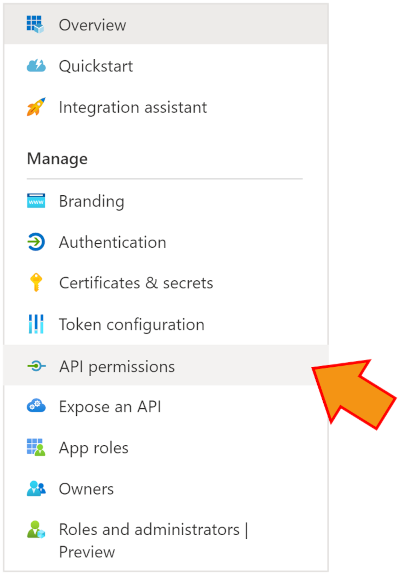
Click on the API Permissions option in the left-hand side bar.
Click on + ADD a permission, and then click on Microsoft Graph under the Microsoft APIs tab.
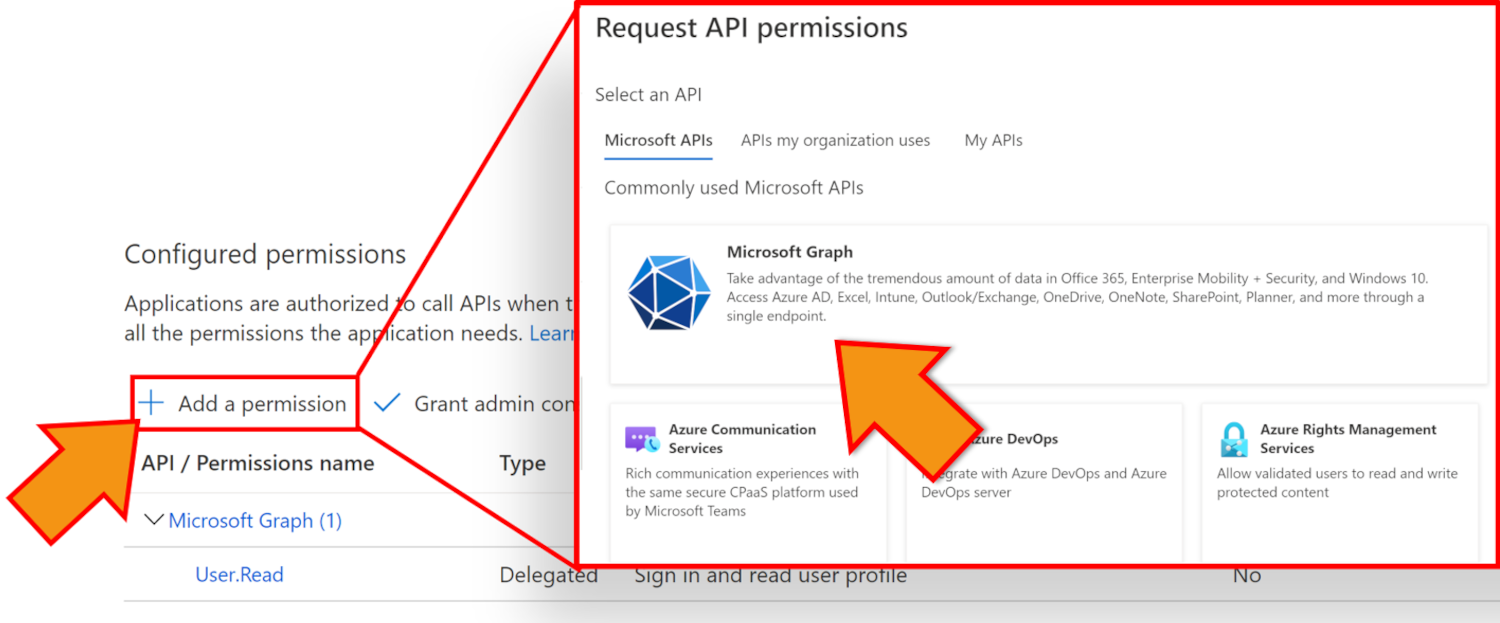
Click on Application Permissions.
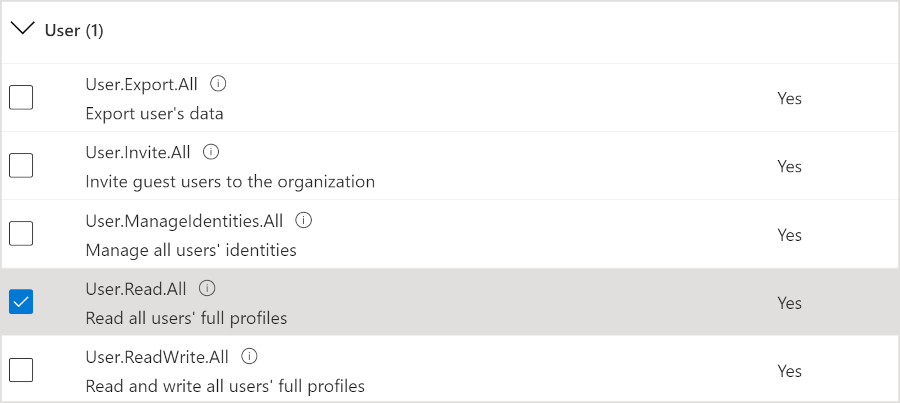
Scroll down to User, and then click to expand the options.
Check the User.Read.All checkbox, and then click Add Permission.
Click on Grant Admin Consent for your company.
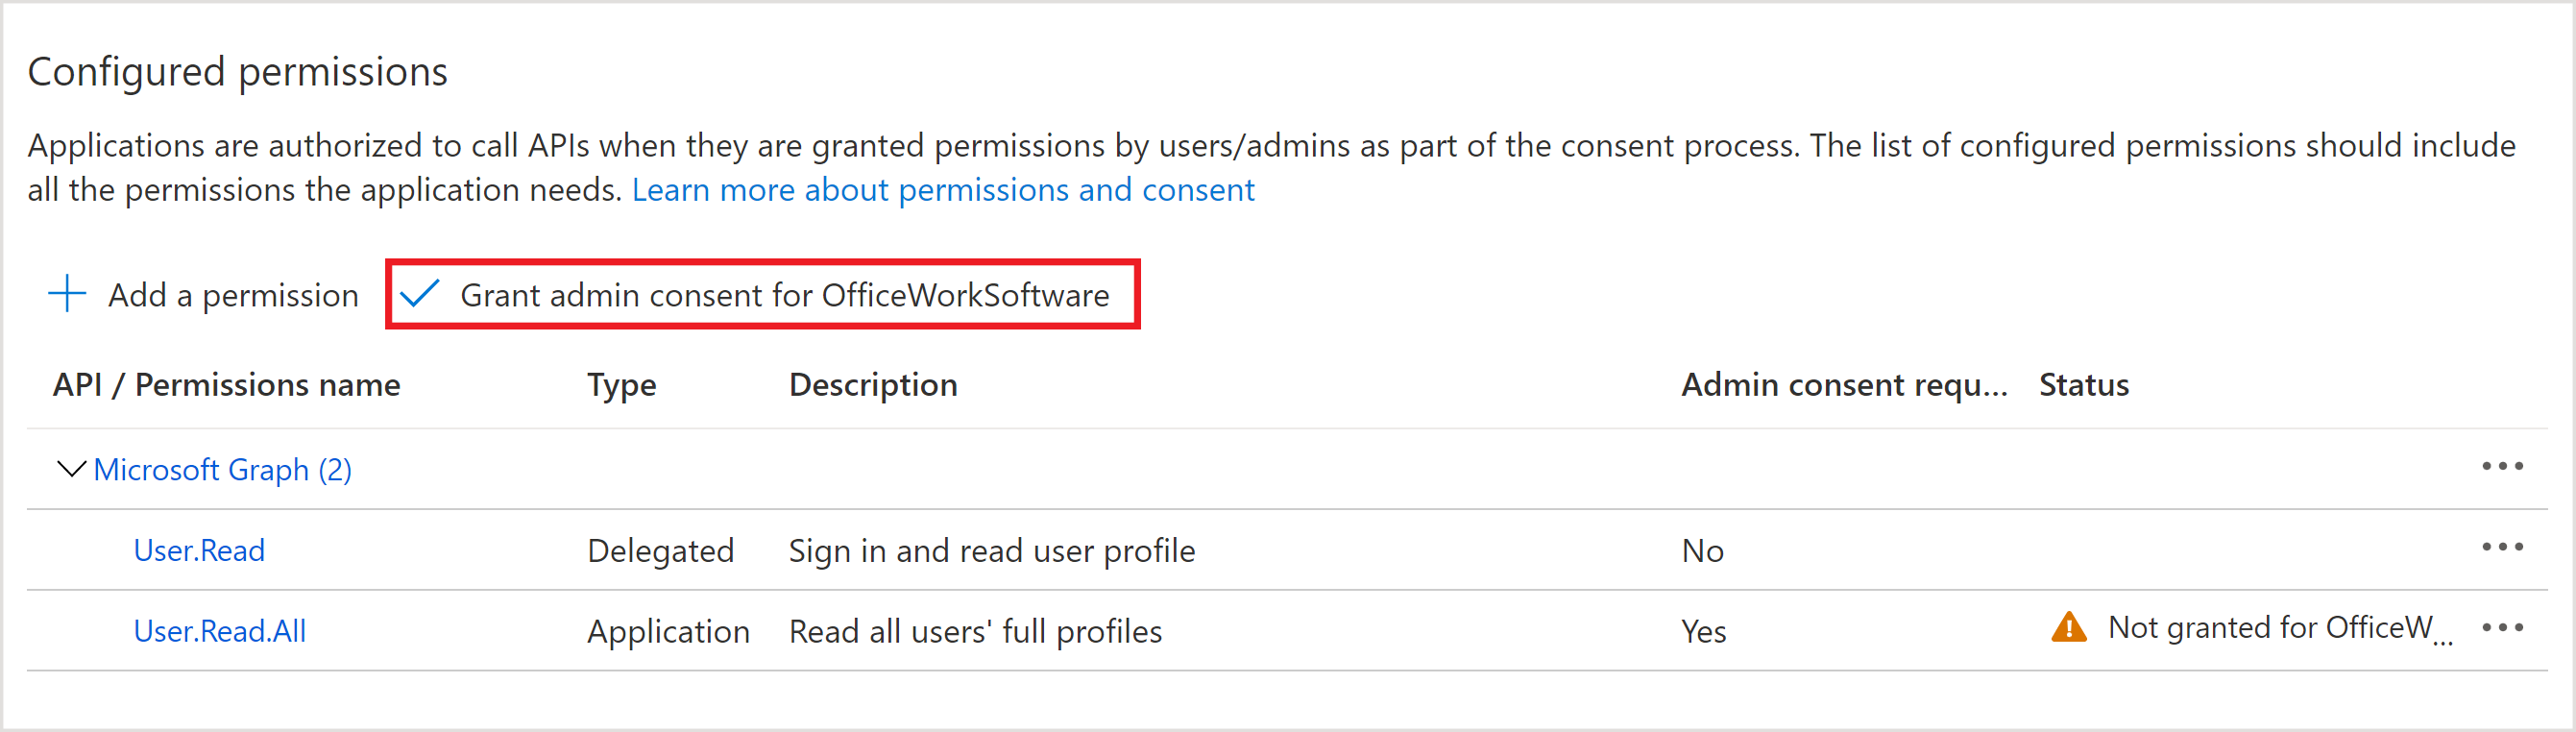
Note
If this option is not clickable, you do not have sufficient permissions to grant admin consent to this application. Contact your Azure AD System Administrator to add the three admin roles listed at the top of this article.
Click on Yes to confirm the admin consent.
Follow the instructions in the Azure AD Connector Setup article to complete your integration in OrgChart.