Active Directory Scheduler
Audience
Audience: Administrators
Overview
The Windows Task Scheduler, available on Windows 10 is the preferred method for managing the Active Directory Agent process. Tasks run using a specific Windows login. It is recommended that you create a Windows Account specifically for managing the Active Directory task.
Accessing Windows Task Scheduler
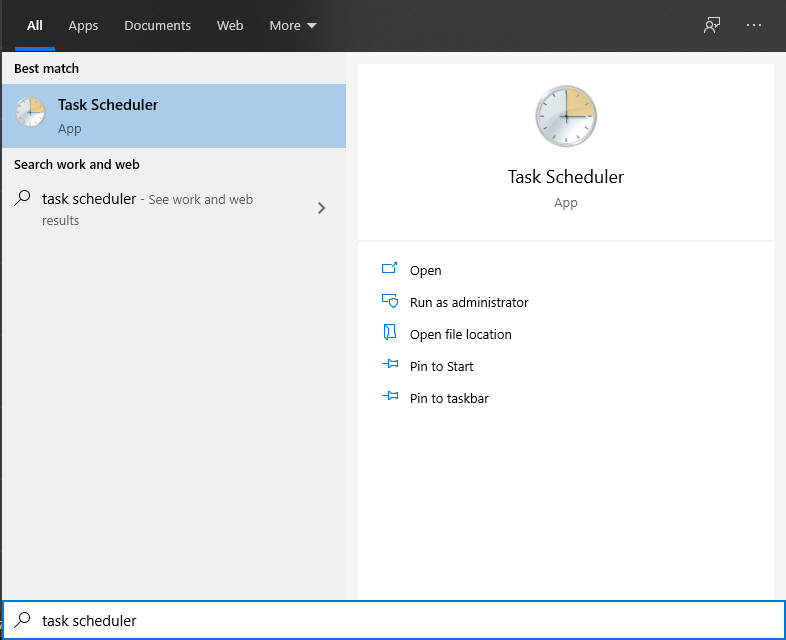
To access the Windows Task Scheduler for Windows 10, press the Windows key on your keyboard, then type "Task Scheduler".
Configuring Windows Task Scheduler
To set up the Active Directory Agent task:
Select "Create Task" under the Action column.
Name the task "AD Agent" under the General tab.
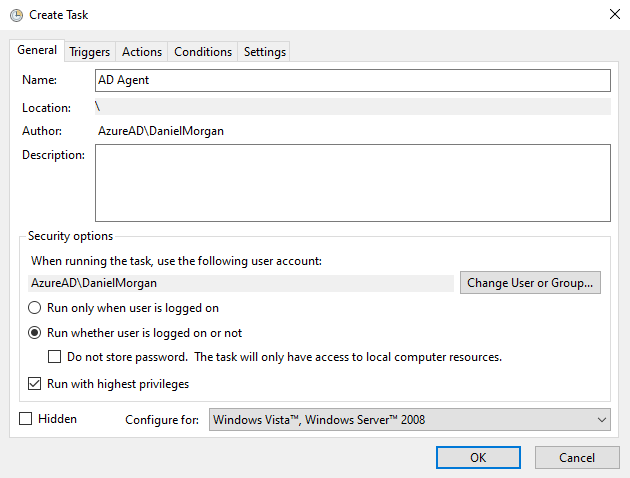
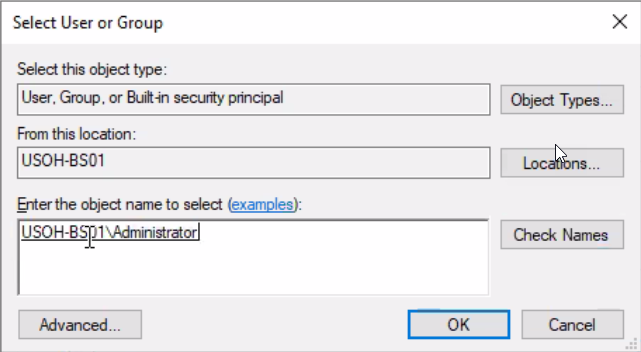
Select the "Change User or Group" button and provide the name of the user who will have the task.
Click the radio button for "Run whether user is logged on or not" option.
Check the box for "Run with highest privileges".
Select the Trigger tab.
Click the New button.
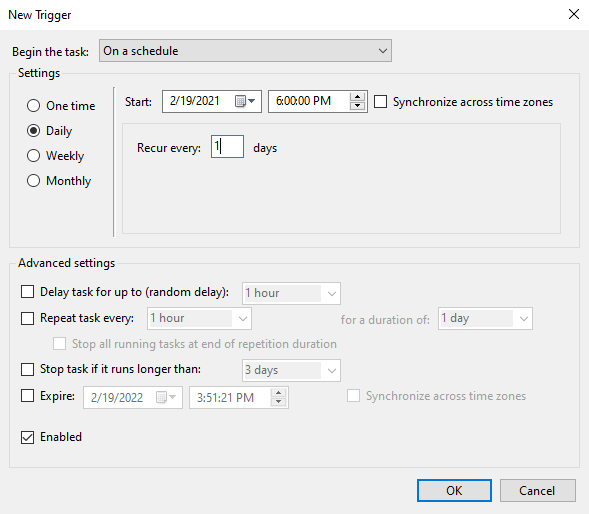
Select your preference on when the task will run, then click OK.
Select the Actions tab.
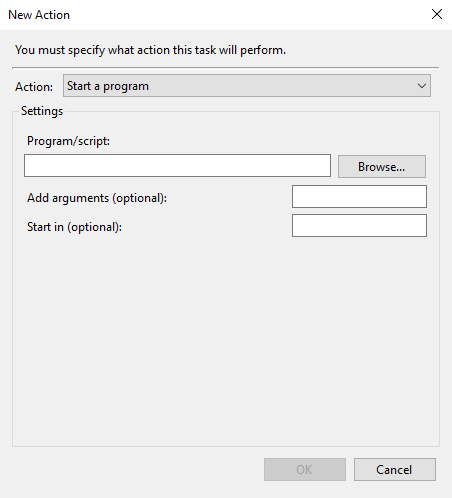
Click the New button.
In the "Program/script:" box, enter the following: "C:\Python37\python.exe".
In the "Add Arguments" box, enter the file you will run.
In the "Start In" box, enter the folder name of where file from the previous step is saved.
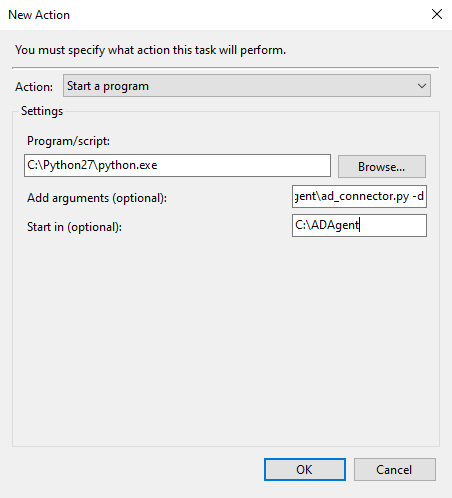
Select OK to save and exit.